

How To Revive A Plant That Dried Out Successfully
I’ve brought quite a few plants back from what looked like the end. The worst was a pothos I completely forgot about over a fortnight away — bone-dry soil, leaves gone papery, the whole thing looking basically done. It pulled through with some patient watering and a trim. Most plants that look finished are more resilient than you’d think, as long as you can still find a green stem somewhere.
This is the approach I use when a plant starts to look like it’s given up — working out whether it’s actually worth saving, and then getting it back on track if it is.
Last Updated: May 2026

Diagnosing Your Plant’s Condition
Is your plant wilting, with dry and brown leaves? These are signs of a struggling plant. It could be due to over or under-watering, lack of sunlight, or root rot. Identifying these indicators is key to reviving your dried-out plant successfully.
Signs of Revivable Plants
No need to lose hope over your indoor plants looking a little under the weather – a lifeless plant might still harbour some life. Here’s how to recognise if your plant has the potential for resurgence:
- Green stems: Presence of green on the stems signifies your plant is alive. This is an indication that it can produce new leaves.
- Firm roots: Robust roots imply the plant has survival potential. Look for solid, white roots within the pot.
- New growth: The emergence of small new leaves or stems is positive. This illustrates that the plant is attempting to rejuvenate.
- Moist soil: Soil retaining some moisture suggests the roots may still absorb water.
- Bright spots on leaves: Even though a majority of the leaf might be brown, the presence of green spots implies there’s existing vitality.
- Flexible branches: Branches that flex without snapping indicate the presence of moisture and life within them.
Do keep in mind, every species of plant exhibits its own distress signals and recovery procedures. Always consider specific care advice for your potted plant or house plants to maximise their survival odds.
Common Causes of Plant Deterioration
Knowing the signs of a revivable plant is just the start. Now, let’s explore what makes plants suffer in the first place.
- Lack of water leads to dry leaves and weak stems. Plants need enough water to stay healthy. If you forget to water them for a long time, they start to look sad.
- Too much water can be just as bad. Roots can’t breathe in soggy soil, causing plants to droop and leaves to turn yellow.
- Not getting enough light leaves plants looking pale and weak. Every type of plant needs a certain amount of sunlight to grow well.
- Direct sunlight for too long can burn the leaves. Some plants prefer indirect light or a little sun.
- Poor drainage in pots means water sits around roots too long. This can cause root rot. Always check for drainage holes at the bottom of your pot.
- Nutrient deficiencies make leaves turn yellow or develop spots because the plant isn’t getting what it needs from the soil.
- Excess fertiliser burns roots, leading to poor growth and sometimes death of the plant.
- Low humidity levels often stress indoor plants, especially during winter months when heating systems are used.
- Pest infestations damage plants quickly if not caught early on—spider mites, for example, suck sap from leaves, making them look sickly.
- Poor air circulation around indoor plants promotes fungal diseases like powdery mildew which appears as white spots on leaves.
Understanding these common causes helps you create a better care plan for your distressed green friends and might even save them from dying!
Initial Steps for Revival
Reviving a dried-out plant starts with trimming any dead parts and rehydrating the dry soil. It’s crucial to create the right environment for the plant by ensuring adequate light and adjusting humidity levels.
Trimming Dead Parts
Trimming dead parts off your plant is a good idea. It helps the healthy parts grow better. Cut off dead leaves and stems with sharp scissors or secateurs. This makes sure the plant uses its energy right.
Be careful not to overdo it. Only remove the bits that are clearly dead – like dry or yellow leaves and brittle stems. Healthy parts might look bad but can still help the plant recover its former glory.
Rehydrating Dry Soil
Rehydrating dry soil is crucial for reviving a thirsty plant. Start by giving the soil a good soak. Pour water slowly over the potting mix, letting it reach deep down to the roots.
Some pots might need a bucket of water to get fully damp again. This helps bring back moisture to where your plant needs it most.
After making sure the soil is moist, check how the drainage works in your pot. Adequate drainage ensures that excess water doesn’t harm healthy roots or cause more signs of distress in your plants.
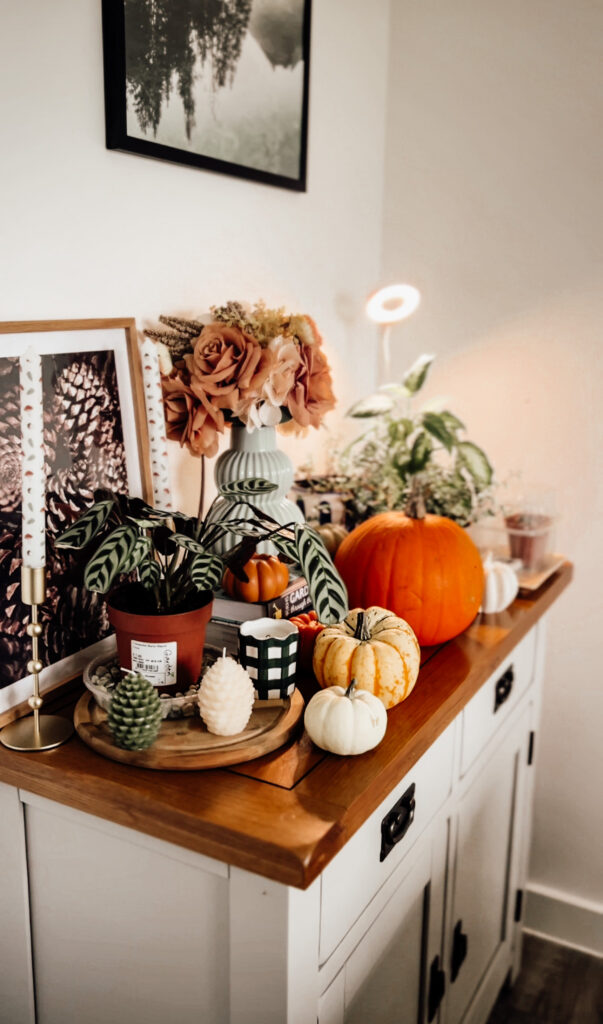
Correct Environmental Conditions
Ensure your plant gets enough light, especially if it’s a sun-loving species. Adjust the humidity levels to create an optimal environment for your recovering plant.
Ensuring Adequate Light
Plants thrive when they get the optimal amount of sunlight; too much or too little can be detrimental. Initiate by determining how much sunlight your plants require. Some favour direct sunlight, while others flourish in shadier areas.
Relocate your potted plants to an area where they can receive ample sunlight. This could involve placing them next to a window for indoor plants, or in a sunnier section of the garden for outdoor ones.
Keeping an eye on lighting conditions is a must. As the sun shifts its position with the seasons, a location that was suitable in the summer may not be in winter. If you notice your plants’ leaves turning pale, or they appear to be reaching out for light, it might be an indication to locate a more suitable spot that fulfils their sunlight requirements.
Adjusting Humidity Levels
Just as plants need enough sunlight, they also thrive in the right humidity. Some plants come from humid places and dry air can harm them. Think about your house plants that might enjoy a bit of moisture in the air.
A great way to raise humidity is by using a tray of water near your plant. Put some pebbles in the tray and then add water, but not too much. You want the bottom of the pot to stay dry.
As the water evaporates, it makes the air around your plant more humid. For those with many plants, grouping them together helps too. Plants release moisture through their leaves which can help each other out.
Ongoing Care and Monitoring
To keep your plant on the path to recovery, monitor its water needs by using the “finger test” to check the soil moisture, you can also use soil moisture metre. Also, consider a regular feeding schedule with organic fertiliser during the growing season for optimal health.
Proper Watering Techniques
Watering your plants right gives them a great chance to thrive. Check the soil moisture before watering. If the top inch of soil feels dry, it’s time to water. Be careful not to overdo it though, as too much water can hurt your plant just as much as too little.
For pot plants, ensure the pot has holes in the bottom. This lets any extra water escape and keeps roots from getting waterlogged.
Use room temperature water for best results. Cold water can shock the plant’s roots and slow down growth. Water slowly until you see it running out of the drainage holes at the bottom of the pot.
This makes sure that all layers of soil get damp but not soaked through and through.
When to Fertilise
Fertilise your plants during the growing season, typically in spring and early summer. This is when plants require extra nutrients to support their growth. Look for signs of new growth and then fertilise accordingly.
Avoid fertilising in late summer or autumn as this can encourage new growth that may not have time to harden off before winter, resulting in damage from frost.
After determining the appropriate time to fertilise based on the plant’s growth stage, consider using organic fertiliser for better nutrient absorption by the soil and roots. Keep in mind that too much fertiliser can harm plants, so follow the instructions on the packaging carefully.
For best results, gently work the fertiliser into the top layer of soil around each plant according to specific recommendations for different species.
Final Thoughts
Reviving a dried-out plant is doable with the right steps. Pay attention to signs of life in your plant and address common causes of deterioration. Trim off dead parts and rehydrate the soil, then ensure it has proper light and humidity levels.
Monitor your plant’s ongoing care, watering properly and knowing when to fertilise. With these simple ways, your plant will have the best chance to thrive again. So, don’t give up on that wilted friend just yet – there’s hope!


You May Also Like

Manucurist Green Flash: Eco-Friendly Nail Polish Review

How to Build a Capsule Wardrobe on a Budget
